Remove Background Online for Free
This page launches the editor with Magic Eraser ready to use, so you can remove a flat or low-detail background, refine the edges, and export a transparent PNG.
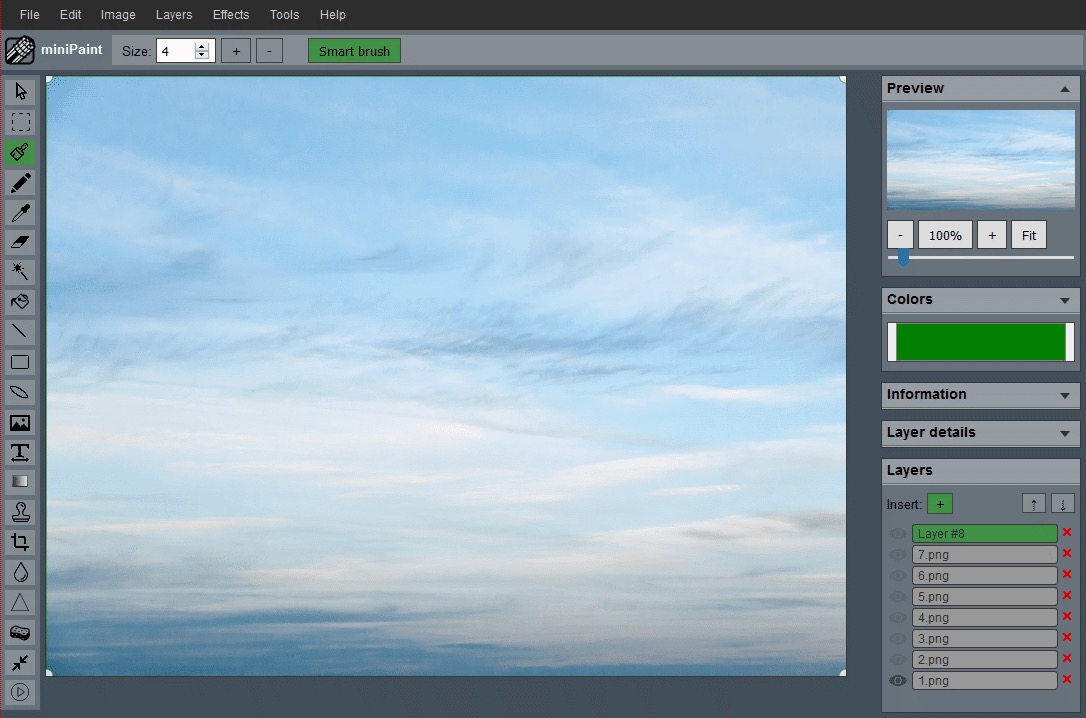
Start Removing BackgroundBest for logos, product photos, stickers, and quick transparent cutouts.
Use Magic Eraser first, then clean the edges manually
Background removal is rarely a one-click task for every image. The fastest workflow is to remove the large background areas first, then switch to the Eraser, Selection, or Zoom tools to clean up the tricky spots.
That is why this page opens the full editor rather than a fake single-purpose button. You get a real workflow with room to refine the result before exporting.
This workflow is strongest when the subject and background are visually different. Logos, stickers, simple product photos, and objects on flat backgrounds usually clean up faster than hair, glass, smoke, reflections, or busy outdoor scenes.
Recommended Workflow
Open the Image
Load the source image and zoom in if you need to inspect the edges.
Use Magic Eraser
Click the background area to remove large regions with similar colors.
Refine the Edges
Clean leftover pixels with the Eraser or selection-based edits.
Export as PNG
Save as PNG so the transparent background remains transparent.
Start with the easiest background area
Click a large background region first instead of starting near the subject edge. This helps remove the broad color area quickly and shows you how sensitive the result is. If too much of the subject disappears, undo and use a more careful pass.
After the first removal, zoom in and inspect the outline. Small leftover pixels are normal, especially around antialiased logos or compressed JPG edges. Use manual cleanup before export so the transparent image looks natural on dark, light, and colored backgrounds.
Best Results When
- The subject has strong contrast against the background.
- The background is mostly flat, light, dark, or evenly colored.
- You are removing space around a product, logo, or sticker design.
- You have a few seconds to refine the edge after the first pass.
When to Expect Manual Cleanup
Hair, soft shadows, glass, smoke, and very busy backgrounds usually need more than one click. In those cases, use the remove-background workflow as a starting point, then clean up the result inside the full editor.
If you only need a tighter frame after removing the background, continue with the Crop Image workflow before exporting.
Background And Transparency Guides
Use these guides when the final image needs transparency, cleaner edges, or a safer export format.
Make Transparent PNG
Remove a background, inspect the edges, and export a PNG that works on different colors.
Read PNG GuideRemove White Logo Background
Clean up logo edges and avoid halos before placing the graphic on dark or colored designs.
Read Logo GuidePNG vs JPG
Choose the right export format when transparency, file size, or crisp edges matter.
Read Format GuideWhat makes a clean transparent export
A clean transparent export should work on more than one background. If a logo looks fine on white but shows a pale halo on a dark card, the background removal is not finished yet. If a product cutout loses part of its shadow or edge, it may look pasted-on instead of natural.
Preview the result against a contrasting color before saving the final file. This makes leftover background pixels easier to see. It also helps you decide whether the original photo is suitable for background removal or whether you need a cleaner source image with better contrast.
For logo-specific cleanup, read how to remove a white background from a logo. If you are not sure which export format to choose, the PNG vs JPG transparency guide explains why PNG is usually the safer final format.