Crop Image Online for Free
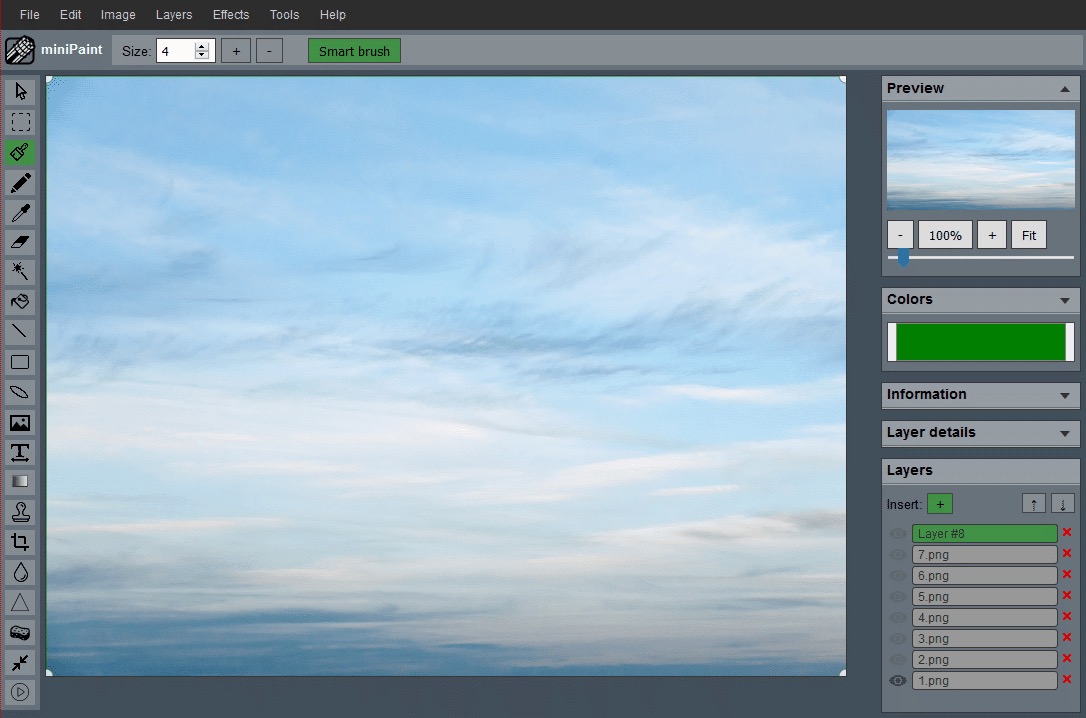
This page opens the editor with the Crop tool selected, so you can trim a photo, remove empty space, or crop to an exact frame without leaving the browser.
Open Crop ToolSupports JPG, PNG, WEBP, and BMP. Files stay on your device while you edit.
A direct crop workflow, not just a keyword page
When you click the main button above, the editor launches with the crop workflow ready to use. That means you can immediately load your file, draw the crop area, fine-tune the dimensions, and export the result.
If you need more than a simple trim, the same workspace also gives you layers, text, filters, and background cleanup tools after the crop is done.
A useful crop does more than cut pixels away. It makes the subject easier to understand, removes distractions, and prepares the image for a real destination such as a profile photo, ecommerce listing, website banner, video thumbnail, or square social post.
How to Crop an Image
Open Your File
Launch the crop workflow and load the image from your device.
Draw the Area
Drag the crop handles to keep the part of the image you want.
Set Exact Dimensions
Enter width and height values if you need a precise output size.
Apply and Export
Confirm the crop, then save the trimmed image to your computer.
A clean crop starts with the final use
Before choosing a crop box, decide where the image will appear. A marketplace product image may need consistent padding on every side. A YouTube thumbnail needs a wide 16:9 frame with a clear focal point. A profile photo usually works best as a square crop with the face still readable at small size.
If you are not sure which ratio to use, make the composition clear first. Remove the most obvious empty space, keep important edges visible, and only then lock the crop to a square, wide banner, or exact pixel size.
Common Crop Sizes
| Use Case | Recommended Size |
|---|---|
| Instagram square post | 1080 x 1080 |
| YouTube thumbnail | 1280 x 720 |
| LinkedIn cover image | 1584 x 396 |
| Product marketplace listing | 1600 x 1600 |
Crop First, Resize Second
If the frame is wrong, crop before you resize. Cropping fixes composition, while resizing changes the output dimensions. Doing them in that order gives you cleaner results and keeps the subject centered in the final export.
For example, trim a product photo to remove extra whitespace, then move to the Resize Image workflow if the marketplace requires a specific pixel size.
Crop Guides For Specific Jobs
Start with the general crop tool, then use a guide for the shape or platform you need.
Composition Cropping
Learn how to tighten the frame without cutting away the part that gives the image context.
Read Composition GuideProfile Picture Crops
Create a square avatar that still works when the platform displays it inside a circle.
Read Profile Guide16:9 Thumbnail Crops
Prepare wide thumbnail crops where the subject and message stay clear at small sizes.
Read Thumbnail GuideHow to choose the right crop frame
The best crop frame is the one that keeps the image useful after it leaves the editor. If the crop is for a website hero, leave enough negative space for headings or buttons. If it is for a catalog grid, keep the subject scale similar to the other images in the same set. If it is for a document or slide, avoid trimming context that explains what the viewer is seeing.
Cropping too tightly is a common mistake. It can make a subject feel larger, but not necessarily clearer. Leave breathing room around faces, hands, product edges, shadows, labels, and any visual detail that helps the image feel complete. When in doubt, export one slightly wider version and one tighter version, then compare them at the size where the image will actually be used.
For a deeper composition workflow, read how to crop a photo without losing composition. If the final destination needs a square frame, the guide on making images square without stretching is a good next step.